Set Multiple File Date/Times

The Set Multiple Date/Times tool
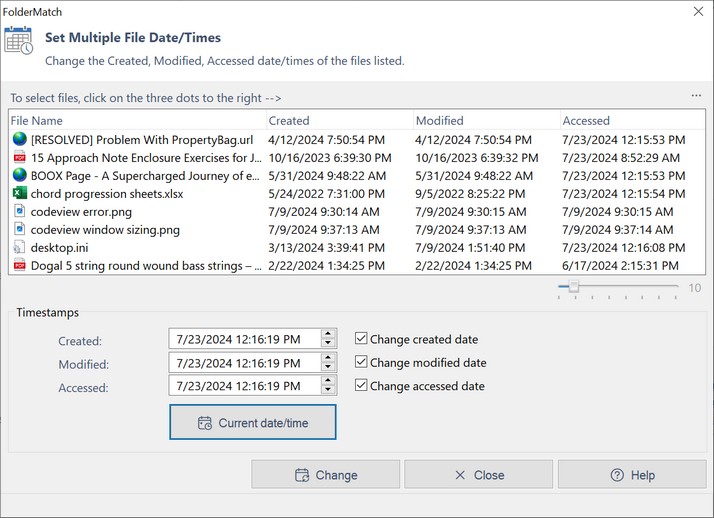
The Set Multiple File Date/Times tool allows you to change the time stamps for multiple files at one time. Files store three dates internally: their creation date, last accessed date, and last modified date. The tool can change any or all these for you.
You can open this tool from either the Start Page or the Compare Folders window.
1.Open the tool from the Start Page
Press the Change date/times button while in Tools mode. The tool will appear with no files listed.
2.Open the tool from the Compare Folders window
Select multiple files from a Comparison Result Pane then choose "Change date/times of multiple files" from either the File menu, the Tools toolbar button drop-down, or the right-click context menu. The tool will appear with all the selected items listed.
When the tool opens up, it may list file names or it may be empty. This depends on how you arrived here. (See the discussion above.) If the list is empty, you'll need to add some files to the list.
|
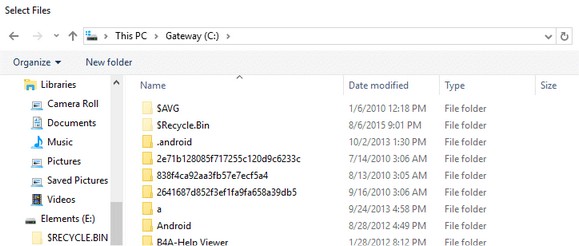
This will open up a Select Files window you can select files from.
Select all files whose date/time you want to change and press OK on the Select Files window. The tool adds the selected files to the list.
|
Step 1: Specify which of the three dates you want to change
To specify which of the three date/times (created/modified/accessed) to change, place a check
For example, if you want to change only the Created date/time, place a check in the "Change created date" box and remove the check from the other two.
Note that only the date/time fields for the date types (created/modified/accessed) you choose are editable.
Step 2: Enter the new date & time values
You must supply the tool with the new date times values you want to use. You can enter the new date/time values in three ways:
1.Manually enter the new values in the date/time fields
To manually enter a new value, click into each date/time component (month, day, year, hour, minute, second, & AM/PM) and type in a new value. You may enter different date/time values for each of the date types or you may enter the same value into all three.
For example, in the date time below, the user has clicked the year component and changed the value from “2018” to “2019”.
2.Select a file from the list
When you click on a file in the list, the tool populates the three date/time fields with values taken from the file. The example below shows the date/times from the selected “desktop.ini” file.
3.Press the Current Date/Time button
Pressing the Current Date/Time button will populate the three date fields with the date/ & time right now.
Step 3: Apply the new date & time values
Press the Change button to apply the new date/time values for the chosen date types (created/modified/accessed) to all the listed files. |
Note:
The new timestamps of the changed files may differ slightly from the values you specified. This will depend on the operating system you are running under. See the File Date/Times topic for details.


